


Best Time to Stain a Fence: A Comprehensive Guide
Staining a fence may seem like a straightforward task, but timing is critical to ensure the best results.
Applying stain at the optimal time will improve the look of your wooden fence and prolong its life.
A fence stain and sealer can protect the wood from moisture, sunlight, and everyday wear.
However, staining a fence at the wrong time can lead to unsatisfactory results, wasted effort, and even damage to the wood. Many people rush into the process or ignore weather conditions, leading to costly reapplications.
This guide will help you determine the best time to stain your fence and provide tips for you to achieve a durable, beautiful finish.
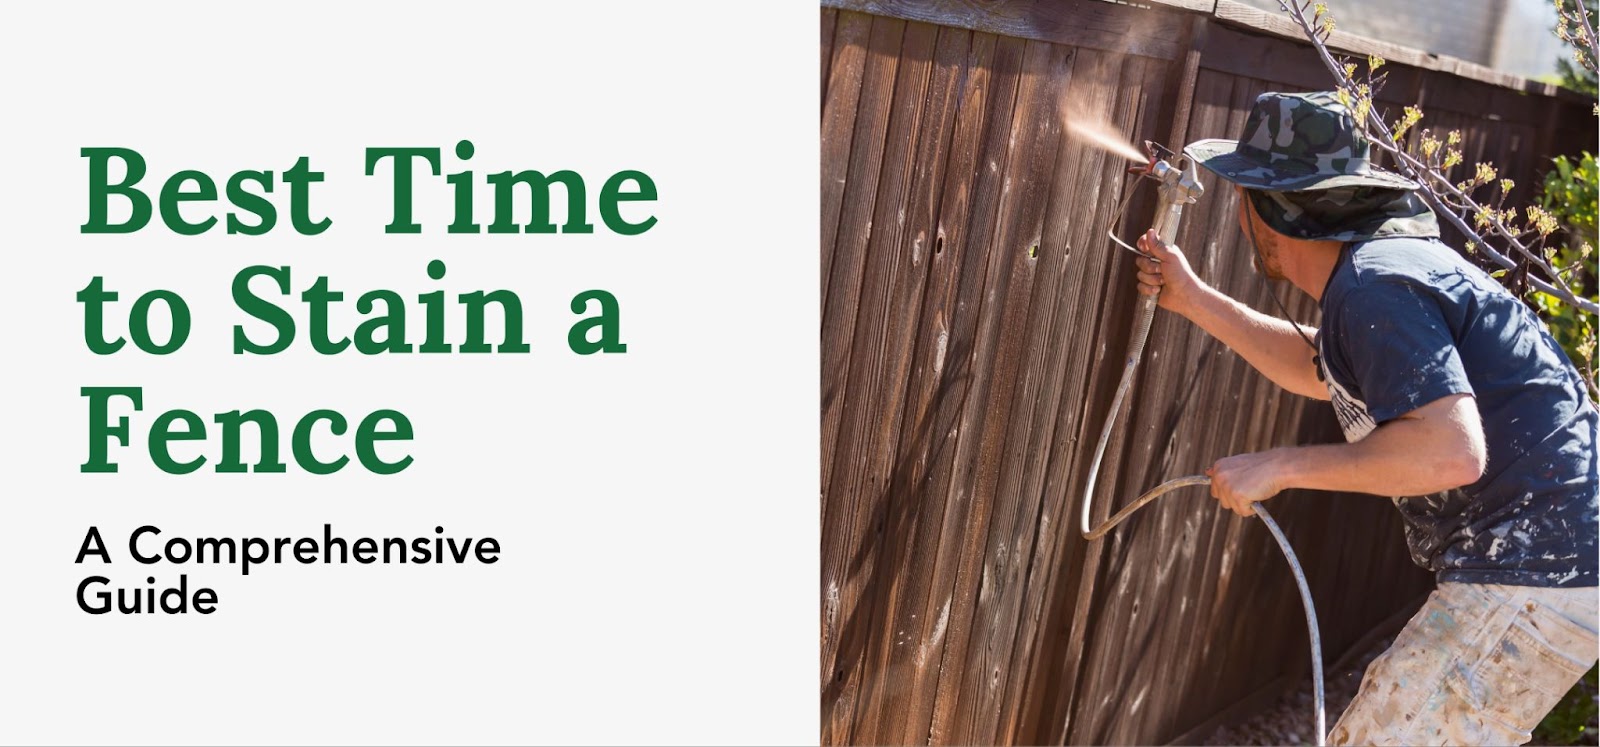
NOTE: Our wood care collection, wood fence tools, and fence staining equipment like our wood stain machine can also provide everything you need to keep your fence in tip-top shape.
VIDEO: If you're interested in learning how to stain your wooden fence with a brush, you can check out our video below.
When is the Best Time to Stain a Fence?
 After deciding between paint or stain, you can then proceed to think about timing.
The right time to stain a fence will depend on the climate and current weather conditions. Generally, professionals recommend staining during spring or fall, avoiding the extremes of winter and summer.
Ideal conditions include temperatures between 50 and 80 degrees Fahrenheit. This range ensures that the stain penetrates the wood effectively without drying too quickly or failing to adhere.
Choosing the milder temperatures of spring or fall will make your wood care tasks easier and set the stage for a smoother application and a more durable finish.
Why Does the Season Matter?
The season plays a significant role in the success of your fence staining project, as moderate weather conditions, common in spring and fall, create the ideal environment for stain adhesion and drying.
During these seasons, the temperature is neither too hot nor too cold, and the likelihood of rain is lower.
Extreme heat during summer can cause the stain to dry too quickly on the surface, preventing it from seeping into the wood grain. This quick drying may result in uneven coloring and reduced protection.
Similarly, the cold temperatures of winter slow down the drying process, which can leave the stain vulnerable to dirt and damage.
By staining your wood fence during moderate and predictable weather, you ensure that your fence stain and sealer work effectively to protect your investment.
The Role of Humidity and Weather Conditions
Humidity and weather conditions are often overlooked, but they are critical when staining a fence.
High humidity can prolong the stain's drying time, increasing the risk of smudges, dirt accumulation, and uneven finishes.
Conversely, low humidity is ideal as it allows the stain to dry efficiently and adhere properly to the wood.
Additionally, wind can carry debris that may stick to the wet stain. If possible, check the forecast and choose a calm day for your project.
By paying attention to these conditions, you can avoid common pitfalls and achieve a flawless finish.
Waiting Period for New Wood
For new fences, timing becomes even more critical. Freshly installed wood needs time to cure before you apply a wood fence stain.
This waiting period allows the new fence to decrease its moisture content and release any natural oils or moisture that may interfere with the stain's absorption.
Most experts recommend waiting 4-6 weeks after installation before staining a wooden fence. However, some other things to consider include the type of wood and local climate.
Pressure-treated lumber, for example, may require additional time to dry due to the chemicals used in the treatment process.
Skipping this waiting period can lead to poor stain adhesion, uneven coloring, and reduced durability.
To determine if your wood is ready, sprinkle a small amount of water on the surface. If the water beads up, the wood is not yet dry enough. If it absorbs quickly, you are ready to begin staining.
Best Time of Day to Stain
The time of day you choose to stain your fence can also affect the outcome. Avoid the midday sun, as the heat can cause the stain to dry too quickly, leading to uneven coverage.
Instead, aim to start your project in the early morning or late afternoon when temperatures are cooler.
Staining during cooler parts of the day allows the stain to penetrate the wood grain more effectively. This ensures a more even finish and better protection for your fence.
Mistakes to Avoid When Staining a Fence
Staining a fence may seem simple, but several common mistakes can compromise the results.
By understanding these errors, you can avoid costly reapplications and ensure a professional finish.
Staining Too Soon After Installation
One of the most common mistakes homeowners make is staining a fence too soon after installation. New wood, especially if it is pressure-treated, needs time to dry and cure.
Staining too early can lead to poor absorption, uneven coloring, and reduced durability. Patience is key to achieving a long-lasting finish.
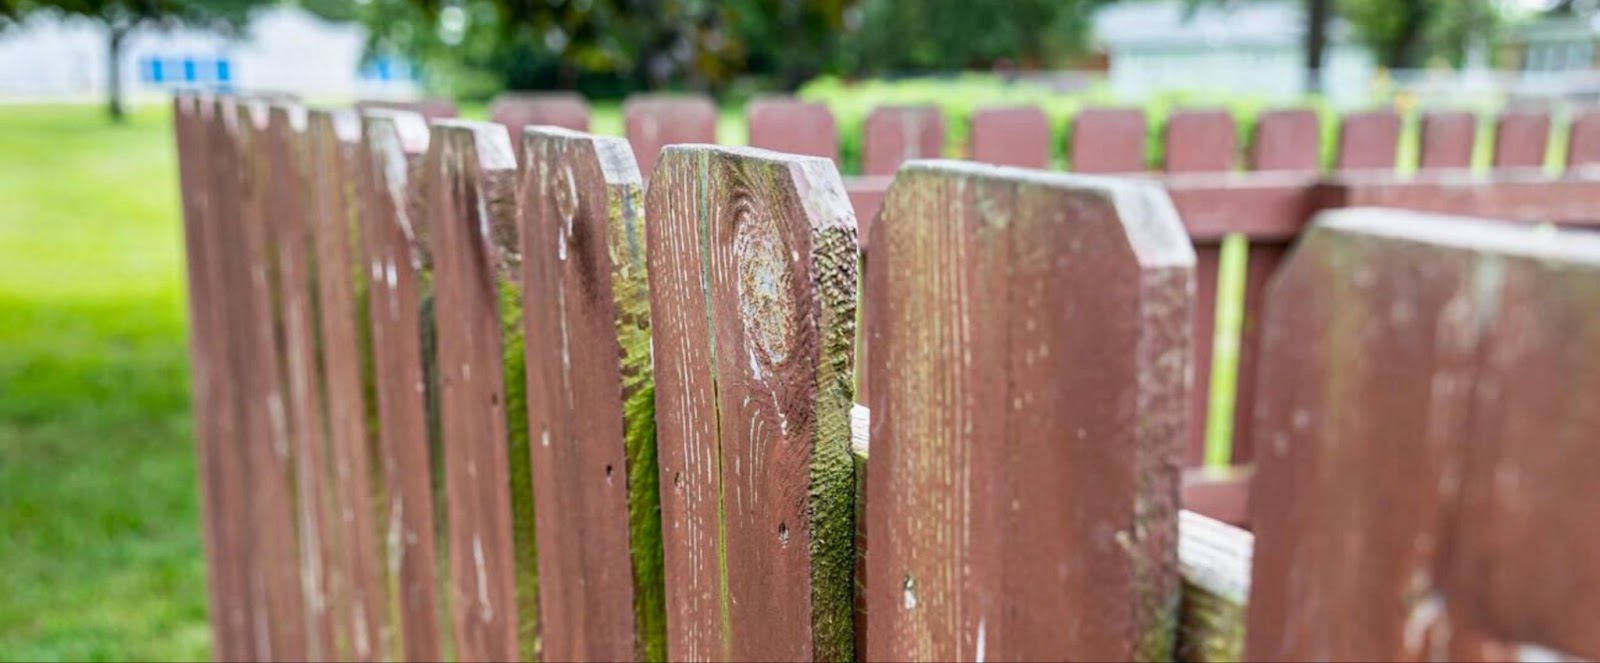
Staining During Extreme Weather
Extreme weather conditions, whether too hot or too cold, can negatively impact the staining process.
High temperatures can cause the stain to dry on the surface before it has a chance to penetrate the wood. This issue may result in uneven staining, requiring the use of a wood stripper.
Conversely, cold weather can slow down the drying process, leaving the stain vulnerable to dirt and debris.
Ignoring Weather Forecasts
Failing to check the weather forecast is a recipe for disaster. Unexpected rain can wash away the stain before it can set, wasting time and materials.
High humidity can also prolong drying time and affect the final finish. Always choose a day with favorable conditions and no rain in the forecast.
Additional Tips for Staining a Fence

Timing is just one part of achieving a flawless fence staining project. The steps you take before and during the process are equally important in ensuring a professional, long-lasting finish.
These practical tips will guide you in getting the best results.
Use High-Quality Stain
The quality of the stain you choose directly impacts the durability and appearance of your fence.
A high-quality stain specifically designed for exterior wood offers superior protection against moisture, sunlight, and mildew.
Many premium stains also include UV resistance, which helps prevent fading and discoloration over time.
While they may cost more upfront, high-quality stains provide longer-lasting results, reducing the need for frequent reapplications and saving you time and money in the long run.
Proper Surface Preparation
Before you apply stain, ensure the fence is properly prepared. Surface preparation is crucial for the stain to adhere evenly and penetrate the wood effectively.
Start by thoroughly cleaning the fence to remove dirt, mildew, and any residue from old stains. This can be done using a wood cleaner and/or power washer.
Once the surface is clean and dry, inspect the wood for rough spots or areas with uneven absorption. Sanding these areas smooths the surface and ensures the stain applies consistently.
Use the Right Tools

Matching your staining equipment to your materials ensures a smoother application process and a more consistent finish.
A fence stain brush is ideal for detailed work, such as corners or edges, where precision is needed. For larger, flat surfaces, rollers or sprayers can cover more area quickly and evenly.
When selecting tools, consider the type of stain you are using and the condition of your fence.
For instance, a sprayer may be best for thin, water-based stains, while a brush or roller might work better with thicker, oil-based stains.
Test a Small Area First
Before committing to staining the entire fence, it is always wise to test the stain on a small, inconspicuous area.
This step allows you to confirm that the color and absorption are as expected, preventing unpleasant surprises later.
Once you are satisfied with the test area, proceed with applying the stain in multiple thin coats rather than a single thick one, unless you’re using a product like EXPERT Stain & Seal, which is designed for what's called a “flood coat” application.
Frequently Asked Questions (FAQs)
This section covers some frequently asked questions about the best time to stain a fence.
What Type of Stain Is Best for a Fence?
There are two main types of fence stain: oil-based and water-based. Oil-based stains penetrate deeper into the wood, providing long-lasting protection.
Water-based stains are more environmentally friendly and easier to clean up, making them a popular choice for DIY projects. That said, some oil-based stains, like EXPERT Stain & Seal are specially formulated to be eco-conscious as well, combining professional-grade performance with low environmental impact.
Can You Stain Over an Old Stain?
Yes, you can stain over an old stain, but remember to prepare the surface properly first.
Clean the fence thoroughly and sand any areas where the old stain is peeling or uneven. This ensures that the new stain adheres properly and provides a smooth finish.
How Much Does It Cost to Stain a Fence?
The cost to stain a fence depends on several factors, including the size of the fence, the type of stain used, and whether you hire a professional or do it yourself.
On average, the cost ranges from $1 to $3 per square foot. For a typical backyard fence, this can translate to a total cost of $200 to $800.
If you choose to hire a professional, labor costs typically make up a significant portion of the expense, often ranging from $40 to $60 per hour.
Final Words: Best Time to Stain a Fence
Timing is everything when it comes to staining a fence. Choosing the right time of year and day can make the process smoother and more effective.
Proper timing ensures the stain adheres well, dries evenly, and provides long-lasting protection.
By avoiding the common mistakes listed above and paying attention to weather conditions, you can achieve a finish that enhances the beauty and durability of your fence.
Patience and preparation are key to success, ensuring that your fence stands the test of time. Keep your fence in top condition with stains and protection from Fence Armor.
Here are some more Fence Armor products and collections you can check out to protec your boards and fences:
Fence Post Puller | Stain Machine | Fence Staining Equipment | Wood Care | Fence Post Guard | RotGuard Sleeve | Speed Square | Mr Fence Tools | Semi Transparent Stain | Chain Link Fence Bottom Guard | Stain Stripper | Fence Guard | Mr Fence Protector | Wood Fence Tools | Expert Stain and Seal | Decorative Fence Post Caps | 4x4 Post Protector | Fence Finials | Framing Jig | Vinyl Fence Rail Removal Tool | 4x4 Deck Post Anchors | Fence Protector | Aluminum Balusters | Mailbox Post Protector | Fence Hangers | EZ Template | Baluster Connectors | Fence Stains


