Fast, Clean Baluster Installation Without Dismantling Existing Rails.
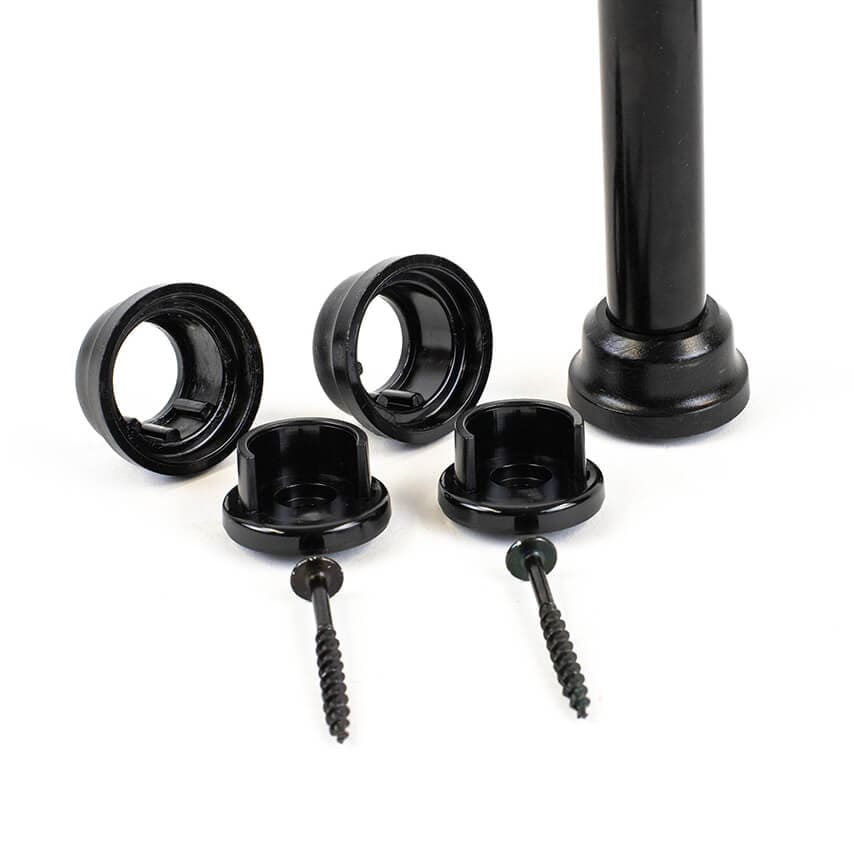
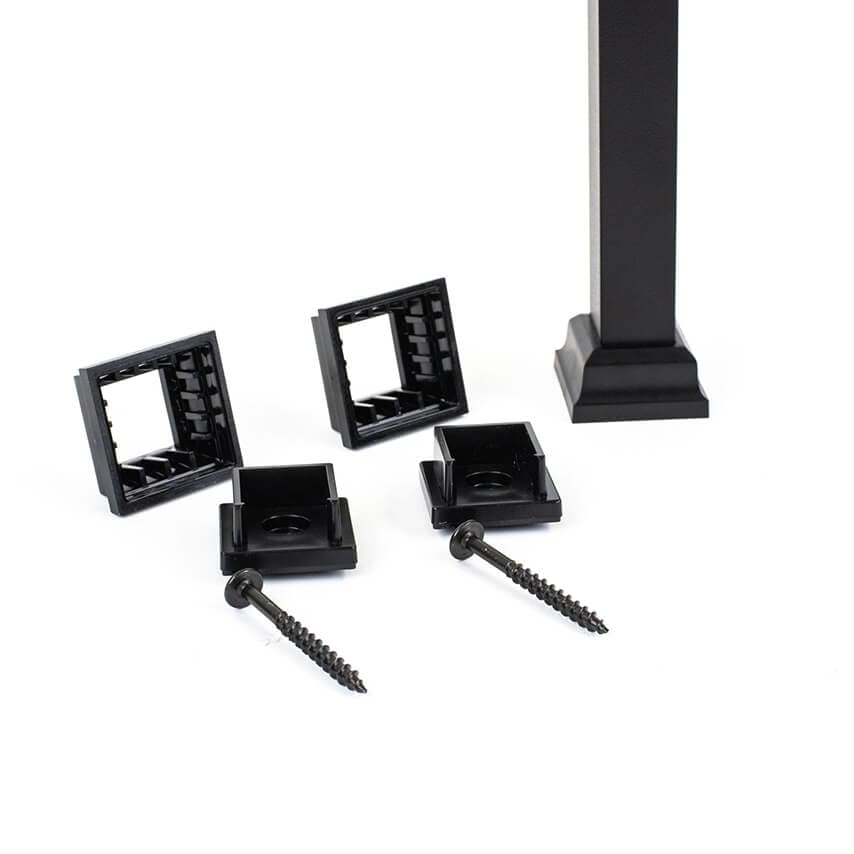
Snap ’n Lock® Titan Baluster Connectors provide a simple retrofit solution for installing nominal 3/4” round or square aluminum balusters on deck and stair railings.
Designed for contractors, remodelers, and DIY homeowners, these connectors allow fast installation without dismantling existing 2x2 wood railings.
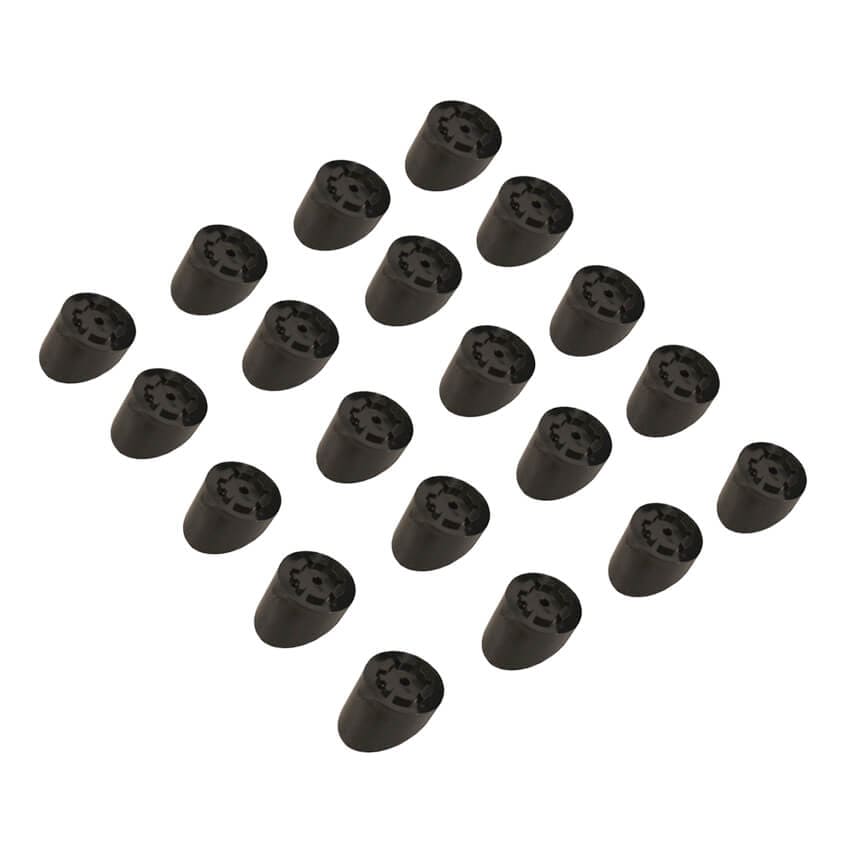
Available in convenient 20-packs with matching screws included.
Who Are These Connectors For?
Snap ’n Lock® connectors are ideal for:
- Deck builders
- Stair railing installers
- Remodelers
- DIY homeowners
- Contractors upgrading older railings
Perfect for projects where speed, consistency, and clean installation matter.
Why Contractors Like Snap ’n Lock®
Fast Retrofit Installation
Install balusters without tearing apart existing railing systems.
Works with 3/4” Round Balusters
Compatible with nominal 3/4” round aluminum balusters, including many other manufacturers’ profiles.
Clean Architectural Appearance
Creates a modern finished look for deck and stair railings.
Great for Stair Applications
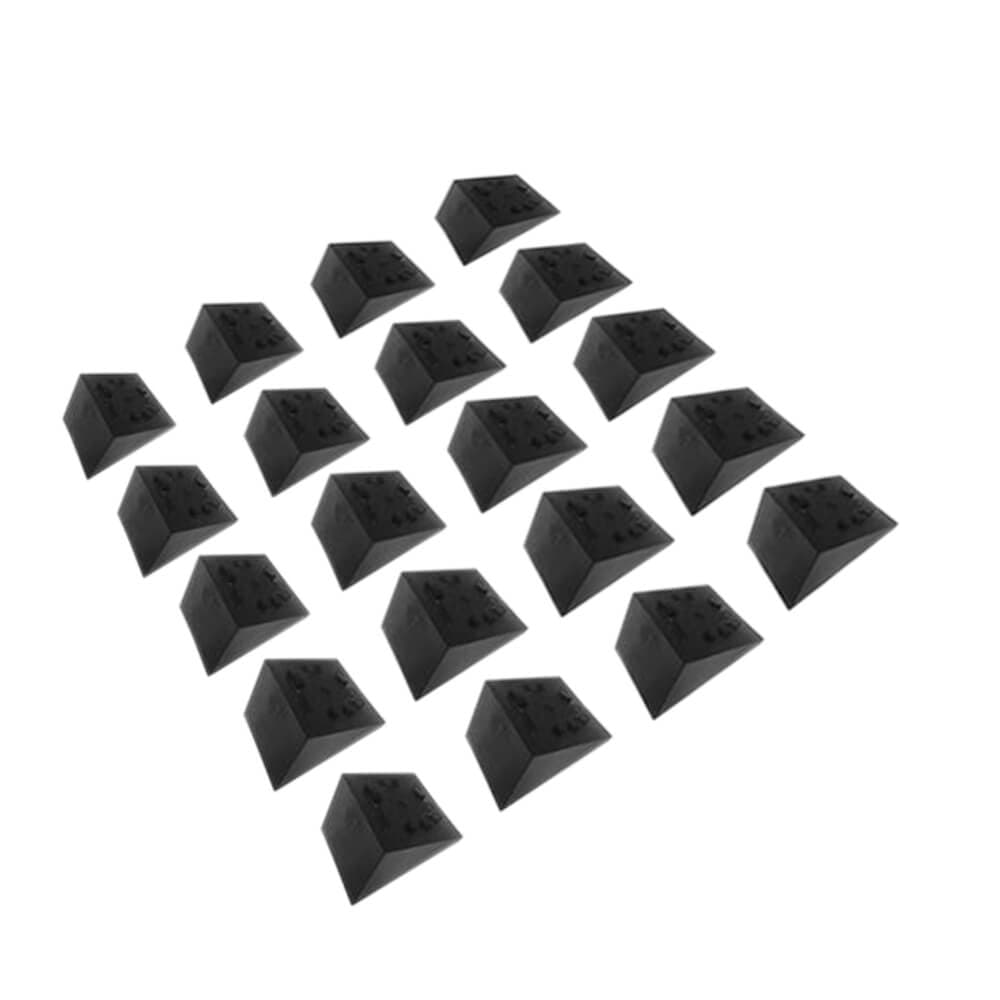
Optional stair adapters are designed for stair angles between approximately 33°–38°.
Repeatable Professional Results
Helps maintain consistent spacing and alignment across railing sections.
What’s Included
Standard Snap ’n Lock® connectors 20-Pack
- 20 Snap ’n Lock® connectors
- Matching installation screws
Covers approximately 10 balusters.
Stair Pack
The Stair Pack does NOT come with Snap'n Lock Connectors; they are sold separately
Covers approximately 4 feet of stair railing.
Specifications
- Fits nominal 3/4” round or square balusters
- Stair adapters preset at 35°
- Compatible stair range: approximately 33°–38°
- Works on top and bottom rails
- Compatible with many 3/4” aluminum baluster brands
Easy Installation
1. Mark Baluster Spacing
Lay out baluster positions on the top and bottom rails.
2. Pre-Drill Pilot Holes
Pre-drilling helps prevent splitting and improves alignment.
3. Install Top Connector
Fasten the top connector into place.
4. Insert Baluster
Set the baluster into the connector and align vertically.
5. Secure Bottom Connector
Attach the lower connector or stair adapter and tighten securely.
6. Final Inspection
Confirm balusters are plumb and fasteners are snug.
Pro Tips
- Verify baluster size before installation
- Avoid overtightening screws
- Use a straightedge for alignment
- Check the stair angle before installing stair adapters
FAQ
Will Snap ’n Lock® connectors fit 3/4” round balusters?
Yes. These connectors are designed for nominal 3/4” round aluminum balusters.
How many connectors are needed per baluster?
Two connectors are required per baluster — one at the top rail and one at the bottom rail.
Can these connectors be used on stairs?
Yes. The Stair Pack includes stair adapters designed for stair angles between approximately 33° and 38°.
Do the connectors include screws?
Yes. Matching screws are included with each pack.
Are these connectors good for retrofit railing projects?
Absolutely. Snap ’n Lock® connectors are specifically designed to simplify retrofit baluster installation without dismantling existing railing systems.
Pro Advice