


Essential Spring Checklist for Maintaining Your Fence and Yard
Here's an overview:
- Inspecting Your Fence for Winter Damage
- Cleaning and Treating Your Fence
- Pruning and Landscaping Around Your Fence
- Checking and Repairing Gate Hardware
- Preventing Pest Infestations
- Staining Your Fence
- Maintaining Your Lawn and Garden
- Ensuring Proper Drainage
- Inspecting and Repairing Irrigation Systems
- Final Touches and Future Planning
Inspecting Your Fence for Winter Damage
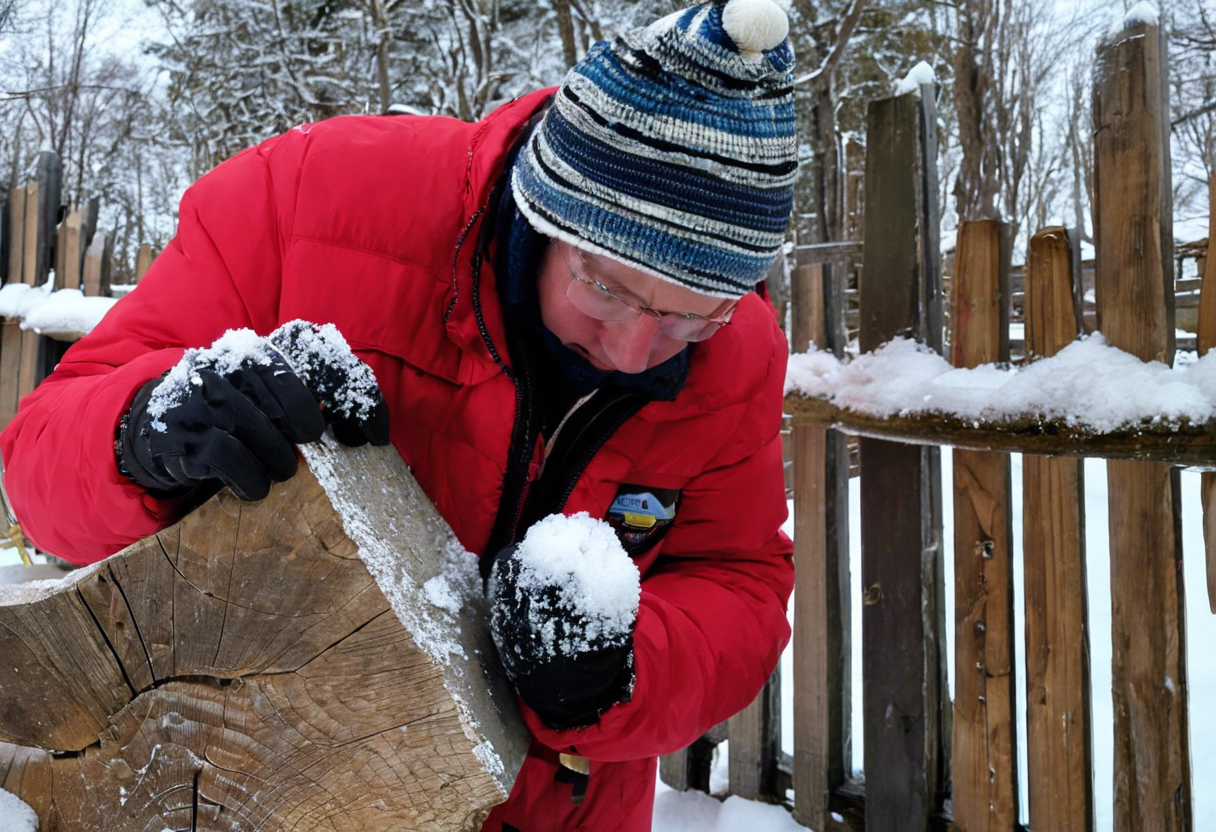
During the winter months, your fence is exposed to harsh weather conditions such as snow, ice, and freezing temperatures. These elements can cause damage and weaken the structure of your fence. To ensure the longevity and functionality of your fence, it is essential to inspect it for any winter damage. Here are some steps to follow when inspecting your fence:
- Check for loose or missing boards: Take a close look at each board of your fence to see if any are loose or missing. Winter weather can cause wood to contract and expand, which may result in boards becoming loose or even falling off. Secure or replace any loose or missing boards to maintain the overall strength of your fence.
- Look for signs of rot: Moisture from snow and rain can lead to rotting in wooden fences. Check for any signs of rot such as soft or discolored wood, as well as areas where the paint or stain has peeled off. If you notice any signs of rot, it is important to address it promptly by replacing affected sections or treating the wood with a wood preservative.
- Inspect the posts: Examine the posts of your fence to ensure they are still firmly in the ground. Winter frost can cause the ground to shift, which may loosen the posts. If you find any wobbly or leaning posts, reinforce them by adding concrete at their base or using metal brackets for added stability.
- Check for rust or corrosion: If your fence has metal components such as gates or hardware, inspect them for signs of rust or corrosion. Winter moisture can accelerate the corrosion process, compromising the integrity of these elements. Replace any rusty or corroded parts to maintain the functionality and appearance of your fence.
- Examine the overall structure: Step back and visually inspect the entire fence to check for any visible damage or sagging. Look for any sections that appear leaning or uneven. These could indicate underlying issues with the fence's foundation or structure. If you notice any significant damage, it is recommended to contact a professional fence contractor for further assessment and repairs.
By regularly inspecting your fence for winter damage, you can address any issues early on and prevent them from worsening over time. This proactive approach will not only extend the lifespan of your fence but also save you from costly repairs in the future. Remember to perform routine maintenance throughout the year to keep your fence in optimal condition.
Cleaning and Treating Your Fence
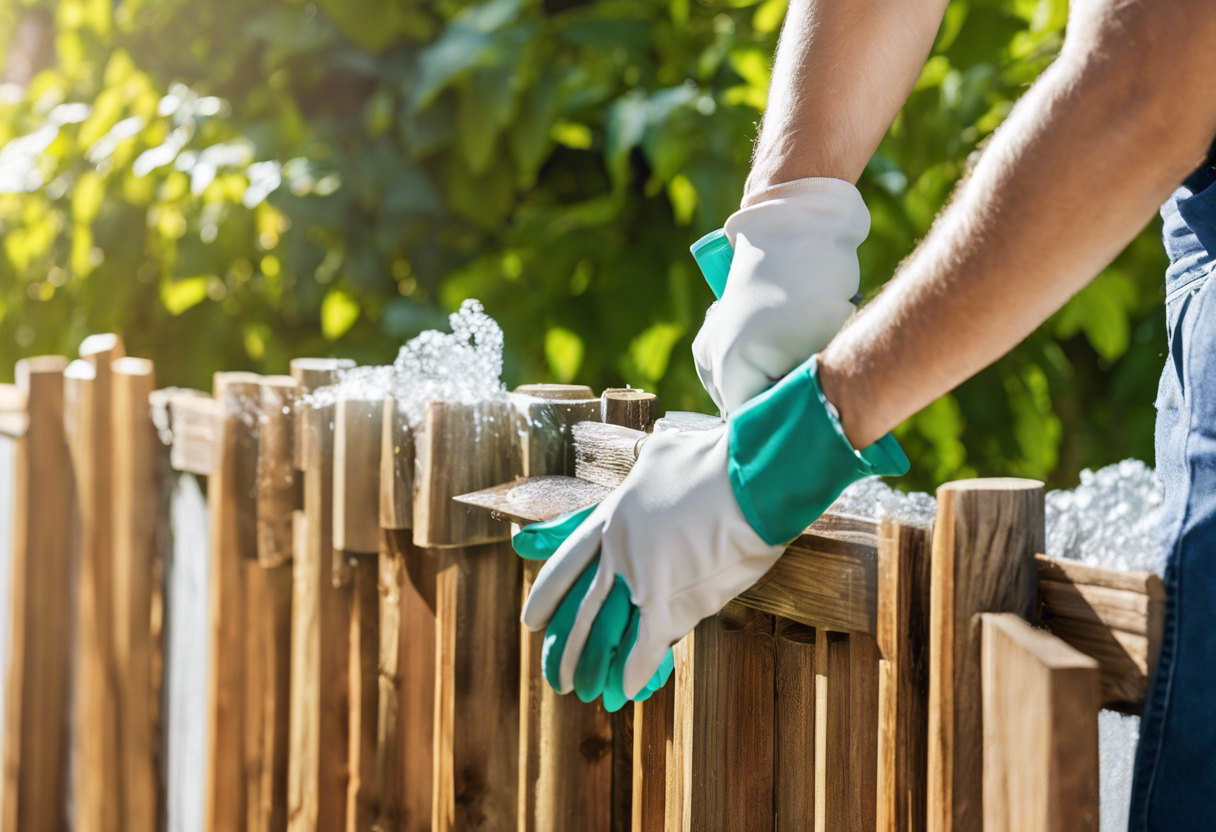
A well-maintained fence not only enhances the aesthetic appeal of your property but also provides security and privacy. As part of your essential spring checklist, cleaning and treating your fence should be at the top of your priorities. Here are some steps to help you get started:
- Remove debris: Start by clearing any debris, such as fallen leaves, branches, or dirt, that may have accumulated on and around the fence. Use a broom or a brush to sweep away loose debris.
- Pressure wash or scrub: Depending on the material of your fence, you can either use a pressure washer or a scrub brush to remove dirt, grime, and stains. Be cautious not to use excessive pressure to avoid damaging the fence. If using a pressure washer, keep the nozzle at a safe distance from the fence.
- Use mild detergent: For stubborn stains or spots, you can mix a mild detergent with water and scrub the affected areas using a soft cloth or sponge. Avoid using abrasive cleaners or harsh chemicals as they can damage the fence's surface.
- Rinse thoroughly: After cleaning, rinse the fence thoroughly with clean water to remove any soap residue. This step is especially important if you used a detergent to prevent any residue from causing discoloration or damage.
- Inspect for damage: While cleaning your fence, take the opportunity to inspect for any signs of damage, such as loose boards, broken pickets, or rusted hardware. Make note of any repairs that need to be addressed after the cleaning process.
- Treat and protect: Once your fence is clean and dry, consider applying a protective coating such stain, or sealant to enhance its durability and appearance. This step can help prevent rot, discoloration, and weathering caused by exposure to the elements.
- Regular maintenance: To ensure your fence stays in pristine condition, it's important to implement regular maintenance practices. This includes regularly cleaning away debris, inspecting for damage, and reapplying protective coatings when necessary. By keeping up with these tasks, you can extend the lifespan of your fence and maintain its visual appeal.
Remember, different fence materials may require specific cleaning and treatment methods, so be sure to consult the manufacturer's guidelines or seek professional advice if you are unsure. By incorporating regular cleaning and maintenance into your spring checklist, you can enjoy a well-maintained fence that stands the test of time.
Pruning and Landscaping Around Your Fence

Taking the time to properly prune and maintain the vegetation around your fence is crucial for its longevity and overall aesthetic appeal. Overgrown trees, shrubs, and ivy can cause damage to your fence by exerting pressure, leading to weakened posts and panels. Additionally, unruly vegetation can make it challenging to access and maintain your fence properly. To ensure your fence stays in excellent condition, consider the following pruning and landscaping tips:
- Trim overhanging branches: Identify any tree branches that are hanging over your fence and trim them back. Not only will this prevent the branches from damaging your fence during strong winds or storms, but it will also help to keep an even and visually pleasing appearance.
- Remove encroaching shrubs: Pay attention to any shrubs or bushes that are growing too close to the fence line. As they expand, they can push against the fence, causing it to become misaligned or damaged. Regularly trim these plants to maintain a safe distance and prevent this issue.
- Avoid climbing vines: Although ivy and other climbing vines may add charm to your fence initially, they can become intrusive and cause damage over time. Their root systems can dig into the fence material and loosen its foundation. Consider removing or relocating any climbing vines to protect your fence's integrity.
- Create a maintenance space: To make fence maintenance easier, create a clear space between the fence and surrounding landscaping. This will allow you to access the fence without obstacles and easily spot any issues that need attention. Be sure to regularly remove leaves, twigs, and other debris from this area to prevent moisture buildup.
- Install edging:
By installing landscape edging along the perimeter of your fence, you can create a clear boundary between the fence and your garden beds. This will help prevent grass, weeds, and other plants from encroaching on the fence and will make trimming and maintenance tasks more manageable.
- Use mulch: Apply a layer of mulch, such as wood chips or bark, around the base of your fence. Mulch helps to prevent weed growth and reduce moisture around the fence, thereby protecting it from rot and other forms of damage. It also gives a finished and neat appearance to your garden.
- Consider alternative landscaping options: If maintaining plants around your fence becomes too time-consuming or poses ongoing challenges, consider alternative landscaping options. Utilizing decorative stones, pavers, or ornamental grasses can create a low-maintenance and visually appealing border around your fence.
Remember, regular pruning and landscaping around your fence is an essential part of its overall maintenance. By dedicating time to these tasks, you can enhance the longevity, appearance, and functionality of your fence for years to come.
Checking and Repairing Gate Hardware
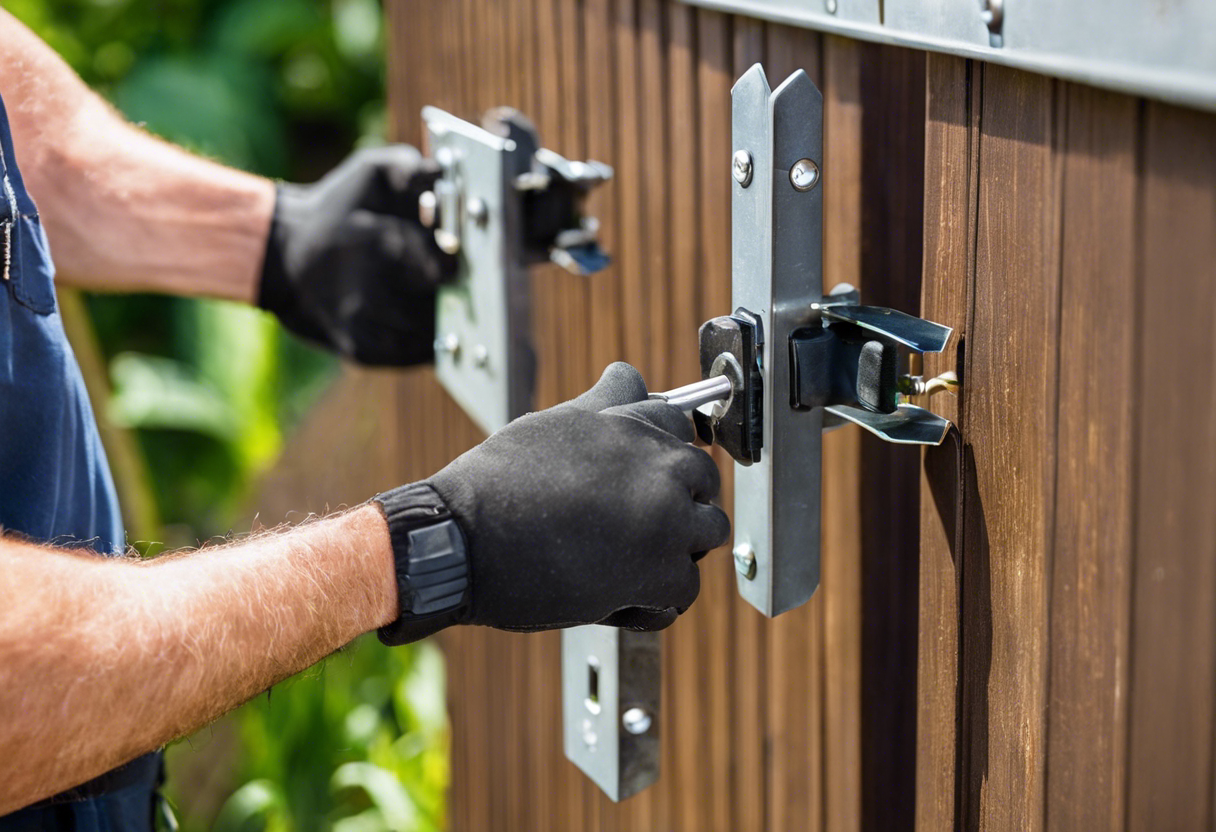
Maintaining the functionality and security of your fence gate is crucial for the overall security of your property. As part of your spring maintenance checklist, it is important to thoroughly inspect and repair any issues with your gate hardware. Here are some essential steps to follow:
- Check the hinges: Start by examining the hinges of your gate. Ensure that they are securely attached to the gate frame and the adjacent fence post. Tighten any loose screws or bolts using a screwdriver or wrench. Lubricate the hinges with a silicone-based lubricant to reduce friction and ensure smooth operation.
- Inspect the latch mechanism: The latch mechanism is an integral part of your gate's security. Check if it is aligned properly with the corresponding latch receiver on the fence post. Ensure that the latch engages and disengages smoothly. If the latch is damaged or worn out, consider replacing it with a new one to maintain the security of your gate.
- Test the gate's swing: Open and close the gate several times to check if it swings freely and smoothly. If you notice any resistance or if the gate doesn't align properly with the latch receiver, there may be an issue with the gate's alignment. Adjust the hinges or seek professional assistance to ensure the gate swings correctly.
- Examine the gate frame and pickets: Inspect the gate frame and pickets for any signs of damage, such as cracks, rot, or loose pieces. Repair or replace any damaged parts to maintain the structural integrity and aesthetics of your gate. If you have a wooden gate, consider applying a fresh coat of stain to protect it from the elements.
- Inspect the gate hardware: In addition to hinges and latches, your gate may have other hardware components, such as handles or decorative elements. Check these components for any damage or wear and tear. Replace or repair any faulty or worn-out hardware to maintain the functionality and appearance of your gate.
- Check for sagging: Over time, gates can sag, which can affect their alignment and functionality. Use a level tool to check if your gate is level and adjust the hinges accordingly to correct any sagging.
- Secure loose or missing boards: If you have a wooden gate, check for any loose or missing boards. Secure them back in place or replace them to ensure the integrity of your gate.
Regularly checking and repairing your gate hardware is a vital part of maintaining your fence and yard. It helps enhance security, prolongs the life of your gate, and ensures your property remains secure. By following these steps and addressing any issues promptly, you can enjoy a well-functioning and attractive gate for years to come.
Preventing Pest Infestations

Pest infestations can quickly turn a beautiful yard into a nightmare. To ensure that your fence and yard remain pest-free, it is important to take proactive measures. By following these preventive steps, you can minimize the risk of pests invading your outdoor space:
- Regularly inspect and maintain your fence: Pests often use fences as entry points to your yard. Regularly inspect your fence for any gaps, holes, or deteriorated areas that may provide easy access for pests. Ensure that the fence is securely fastened and repair any damages promptly.
- Maintain a tidy yard: Pests are attracted to cluttered and overgrown yards. Keep your yard well-maintained by regular mowing, trimming, and weeding. Remove any debris, such as fallen branches or leaves, which can serve as hiding places or breeding grounds for pests.
- Properly store and dispose of waste: Pests are drawn to food and garbage, so it is crucial to store your trash in sealed containers. This prevents pests from accessing a potential food source. Make sure your compost bin is securely covered and away from your fence to avoid attracting pests.
- Eliminate standing water: Standing water can attract pests, especially mosquitoes. Regularly check your yard for any areas where water tends to accumulate, such as clogged gutters or birdbaths. Proper drainage and maintenance can help minimize the presence of pests.
- Seal openings and cracks: Pests can enter your yard through small cracks and openings in the fence or foundation. Use caulk or other appropriate sealants to seal any gaps or cracks. This will prevent pests from finding their way into your yard.
- Use natural deterrents: Instead of relying on chemical pesticides, consider using natural deterrents to repel pests. Planting pest-repellent plants, such as marigolds or lavender, can help keep pests away. Additionally, installing bird feeders and bat houses can attract natural predators that control pest populations.
- Regularly inspect and treat plants: Certain pests, like insects and plant diseases, can damage your plants. Conduct regular inspections to identify any signs of pest infestation, such as wilting leaves or suspicious growth. Treat affected plants promptly with organic or eco-friendly pest control products.
Remember, prevention is key when it comes to pest control. By implementing these preventive measures, you can maintain a pest-free fence and yard, ensuring a pleasant and enjoyable outdoor space for you and your family.
Staining or Painting Your Fence
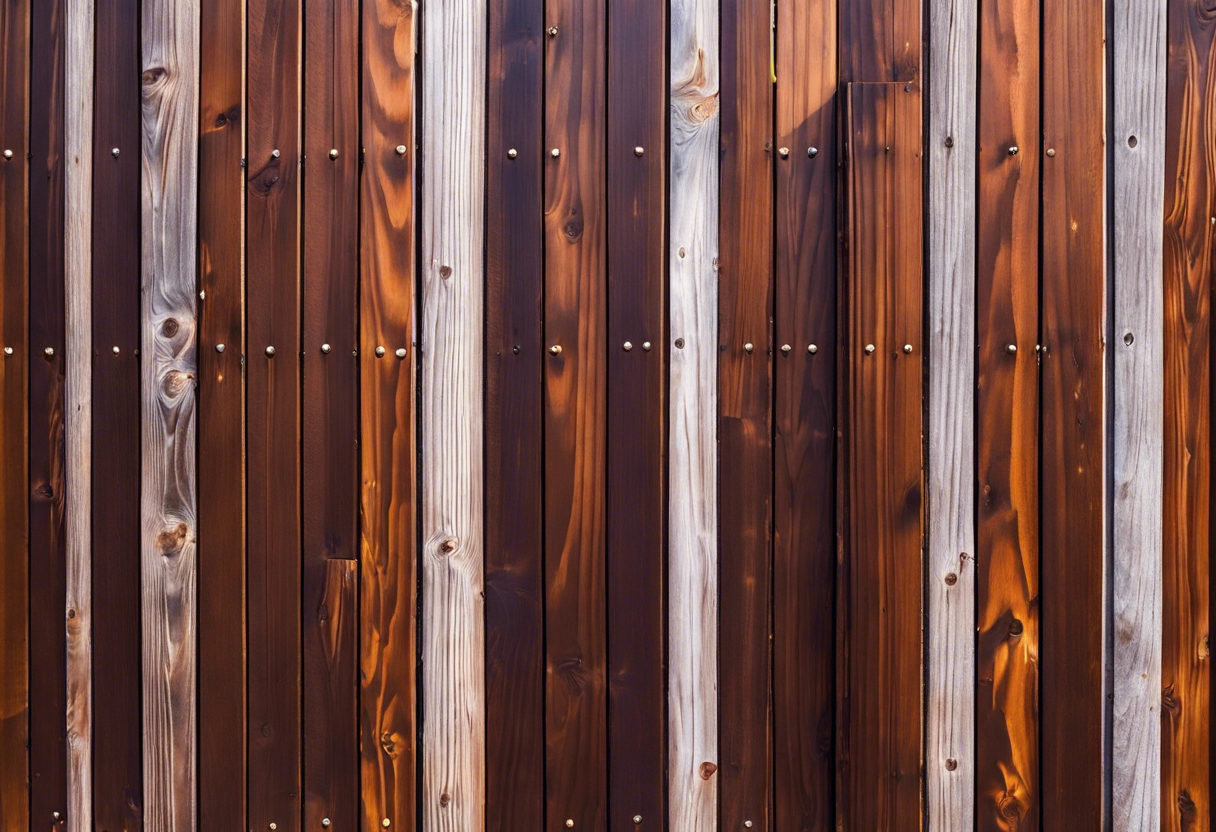
One of the essential tasks in maintaining your fence is to regularly stain it. This not only helps enhance its appearance but also provides vital protection against weathering and decay. Here are some key points to consider when staining your fence:
- Prepare the surface: Before applying any stain, it's crucial to clean the fence thoroughly. Remove any dirt, debris, or loose paint using a power washer or a scrub brush. Sand any rough areas to ensure a smooth surface for better adhesion.
- Choose the right product: Selecting the appropriate stain from EXPERT Stain and Seal is essential for long-lasting results. Consider the type of wood or material your fence is made of and opt for a product specifically designed for that surface. Research different brands and formulations to find one that offers durability, weather resistance, and the desired aesthetic.
- Consider the environment: Take into account the local climate when deciding on the type of stain to use. If you live in an area with high humidity or frequent rainfall, choose a product that provides excellent water resistance and mold prevention. In regions with extreme sun exposure, opt for a stain with UV protection to prevent fading and discoloration.
- Apply the stain: Follow the manufacturer's instructions for application. Use a brush, roller, or sprayer depending on the product and the fence's design. Ensure even coverage and avoid drips or run-off. Take your time and be thorough to achieve a professional finish.
- Multiple coats and drying time: In most cases, applying more than one coat of stain or paint will result in a richer and more durable finish. Allow each coat to dry completely before applying the next layer. Follow the manufacturer's recommended drying time to ensure optimal results.
- Maintenance and reapplication: Regular maintenance is necessary to keep your fence looking its best. Inspect it annually for any signs of wear, such as peeling or fading. Touch up any damaged areas promptly to prevent further deterioration. Depending on the product and the environment, you might need to reapply stain or paint every few years to maintain its protective properties.
By staining with Expert Stain and Seal your fence regularly, you not only improve its appearance but also extend its lifespan. Proper preparation, choosing the right product, and following the application instructions will ensure a beautiful and well-protected fence for years to come.
Maintaining Your Lawn and Garden
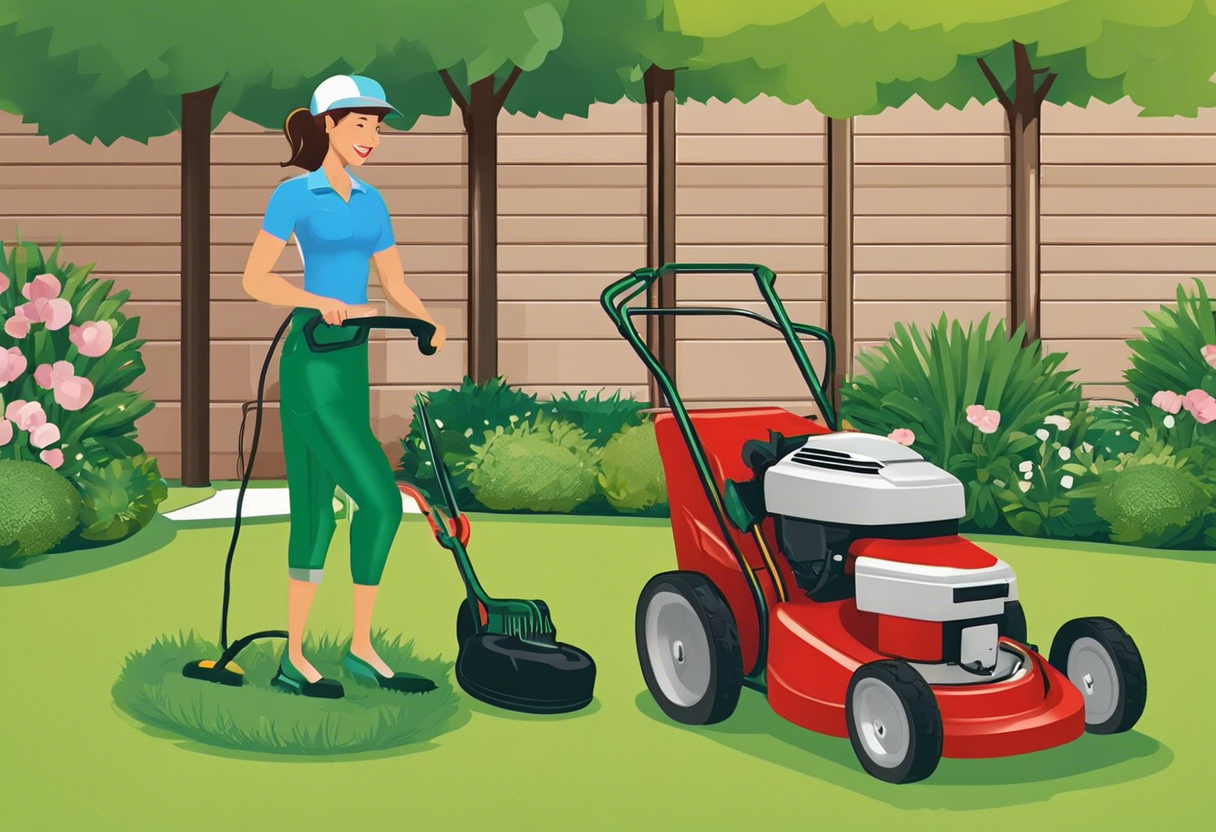
Keeping your lawn and garden in top shape is an essential part of maintaining your overall outdoor space. Here are some key tasks to include in your spring checklist to ensure your lawn and garden stay healthy and thriving throughout the season.
- Clear debris: Start by raking up any debris that may have accumulated over the winter, such as leaves, sticks, and branches. This will help promote new growth and prevent potential damage to your lawn and gardening beds.
- Mow and edge: As the weather warms up, it is time to start regular mowing. Set your lawnmower to the appropriate height for your type of grass, aiming to remove no more than one-third of the blade at a time. Don't forget to edge along sidewalks, driveways, and garden beds for a crisp and polished look.
- Aerate the soil: Aerating your lawn allows water, air, and nutrients to reach the grassroots, promoting stronger and healthier growth. Use a manual or mechanical aerator to create small holes throughout your lawn, paying extra attention to high-traffic areas.
- Fertilize: Spring is an excellent time to give your lawn and garden a boost of nutrients through fertilization. Choose a slow-release fertilizer that matches the specific needs of your grass and plants. Follow the manufacturer's instructions for proper application rates and timing.
- Weed control: Stay on top of weed growth by regularly inspecting your lawn and garden beds. Remove weeds by hand or use herbicides specifically designed for the types of weeds you are encountering. Be careful not to apply herbicides too close to desired plants, and always follow the instructions for safe and effective use.
- Watering: Proper watering is crucial in maintaining a healthy lawn and garden. Gradually increase watering frequency as the weather gets warmer, ensuring that your lawn and plants receive an adequate amount of water without overwatering. Use a sprinkler or drip irrigation system to target specific areas and conserve water.
- Pruning and trimming: Trim back any dead or damaged branches from trees and shrubs to encourage new growth. Prune flowering plants after they have finished blooming to maintain their shape and promote healthy blossoms. Remember to use the appropriate tools and techniques for each plant species.
- Mulching: Apply a layer of organic mulch around your garden beds to help retain moisture, suppress weed growth, and improve soil health. Spread the mulch evenly, ensuring it does not touch the stems or trunks of your plants to prevent rot or disease.
- Pest control: Keep a lookout for pests that can wreak havoc on your lawn and garden, such as insects, rodents, and diseases. Identify the specific pests and use appropriate treatments or pest control methods to protect your plants. Consider using organic and environmentally friendly options whenever possible.
- Regular maintenance: Ongoing maintenance is essential for the long-term health of your lawn and garden. This includes regular cutting, watering, weeding, and mowing as needed. Regularly inspect your plants for signs of disease or distress and address any issues promptly.
By following these essential tasks for maintaining your lawn and garden, you can create a beautiful and vibrant outdoor space that you can enjoy throughout the spring and beyond. Remember to keep a consistent schedule and stay proactive in caring for your outdoor oasis.
Ensuring Proper Drainage
Proper drainage is essential for maintaining a healthy yard and fence. Without adequate drainage, water can accumulate and cause damage to your fence posts, foundation, and landscaping. Here are some important steps to ensure proper drainage in your yard:
- Inspect the gutters and downspouts: Start by checking your gutters and downspouts for any debris or blockages. Clear out any leaves, twigs, or other debris that may be clogging them. This will help ensure that rainwater flows freely and away from your fence and yard.
- Check the slope of your yard: Take a walk around your yard and observe the slope. Ideally, the ground should slope away from your fence and home. If you notice any low spots or areas where water tends to pool, consider filling them in with topsoil to create a more even and sloping surface.
- Install French drains: If you have persistent drainage issues in certain areas of your yard, installing French drains can be a great solution. French drains are trenches filled with gravel and a perforated pipe that help redirect excess water away from problem areas. Consult with a professional landscaper to determine the best location and size for these drains.
- Maintain proper grading: Proper grading is crucial for good drainage. Make sure that your yard is graded in a way that directs water away from your fence and towards designated drainage areas. Consider regrading or adding soil as needed to maintain the right slope.
- Monitor for standing water: After heavy rain or irrigation, keep an eye out for areas where water tends to accumulate and form puddles. This may indicate an issue with drainage. If you notice persistent standing water, it is important to address it promptly to prevent damage to your fence and yard.
- Trim vegetation: Overgrown vegetation can obstruct proper water flow and impede drainage. Regularly trim any plants or bushes near your fence and ensure they do not block gutters or downspouts. This will help prevent water from pooling and causing damage.
Remember to regularly inspect and maintain your yard's drainage system to prevent any potential damage to your fence and landscaping. By ensuring proper drainage, you can protect the longevity and security of your fence while maintaining a healthy yard environment.
Inspecting and Repairing Irrigation Systems
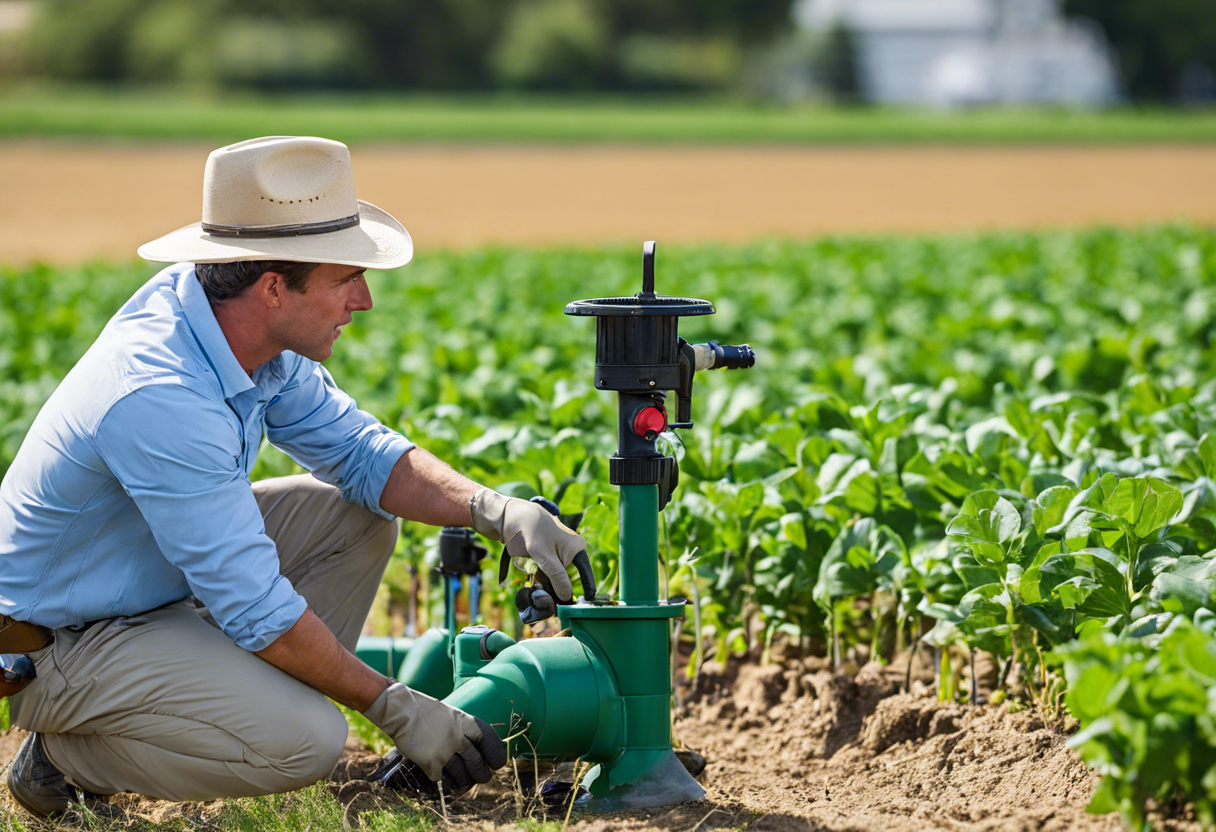
Proper irrigation is essential for maintaining a healthy and vibrant yard. As spring arrives, it's a perfect time to inspect and repair your irrigation systems to ensure they are functioning optimally. Here are some steps to take when inspecting and repairing your irrigation systems:
- Check for Leaks: Start by examining the irrigation lines and sprinkler heads for any signs of leaks. Look for wet or muddy areas, as well as water pooling around the sprinkler heads. Repair any leaks promptly to prevent water waste and damage to your yard.
- Clean and Adjust Sprinkler Heads: Over time, sprinkler heads can become clogged with dirt, debris, or grass. Clean the sprinkler heads thoroughly, removing any obstructions that may prevent them from distributing water evenly. Additionally, check the spray patterns of the sprinkler heads and adjust them if necessary to ensure proper coverage.
- Inspect Valves and Backflow Prevention Devices: Valves and backflow prevention devices are crucial components of an irrigation system. Examine these components for any signs of wear or damage. Test the valves to ensure they open and close properly. If you notice any issues, repair or replace the faulty components.
- Evaluate Water Pressure: Inadequate water pressure can lead to ineffective irrigation. Test the water pressure throughout your irrigation system, ensuring that it falls within the manufacturer's recommended range. If the pressure is too low, you may need to install a pressure regulator. Conversely, if the pressure is too high, consider installing a pressure-reducing valve.
- Calibrate the System: Proper calibration of your irrigation system ensures that water is being distributed evenly across your yard. Test each zone to determine the appropriate run time for the sprinklers. Make any necessary adjustments to ensure uniform coverage, taking into account factors such as soil type, plant types, and sun exposure.
- Install Rain Sensors: Installing rain sensors is an excellent way to conserve water and prevent over-irrigation. These sensors detect rainfall and temporarily shut off the irrigation system, preventing unnecessary watering during wet weather conditions.
- Consider Upgrading to Smart Irrigation Technology: Smart irrigation controllers use weather data and soil moisture sensors to adjust watering schedules automatically. These systems help optimize water usage and improve irrigation efficiency. If you're looking to upgrade your irrigation system, consider investing in smart technology.
Regular inspection and maintenance of your irrigation system will ensure that your yard receives the proper amount of water, leading to healthy and thriving plants. Take the time this spring to thoroughly inspect and repair any issues with your irrigation system and enjoy the benefits of a lush and beautiful landscape.
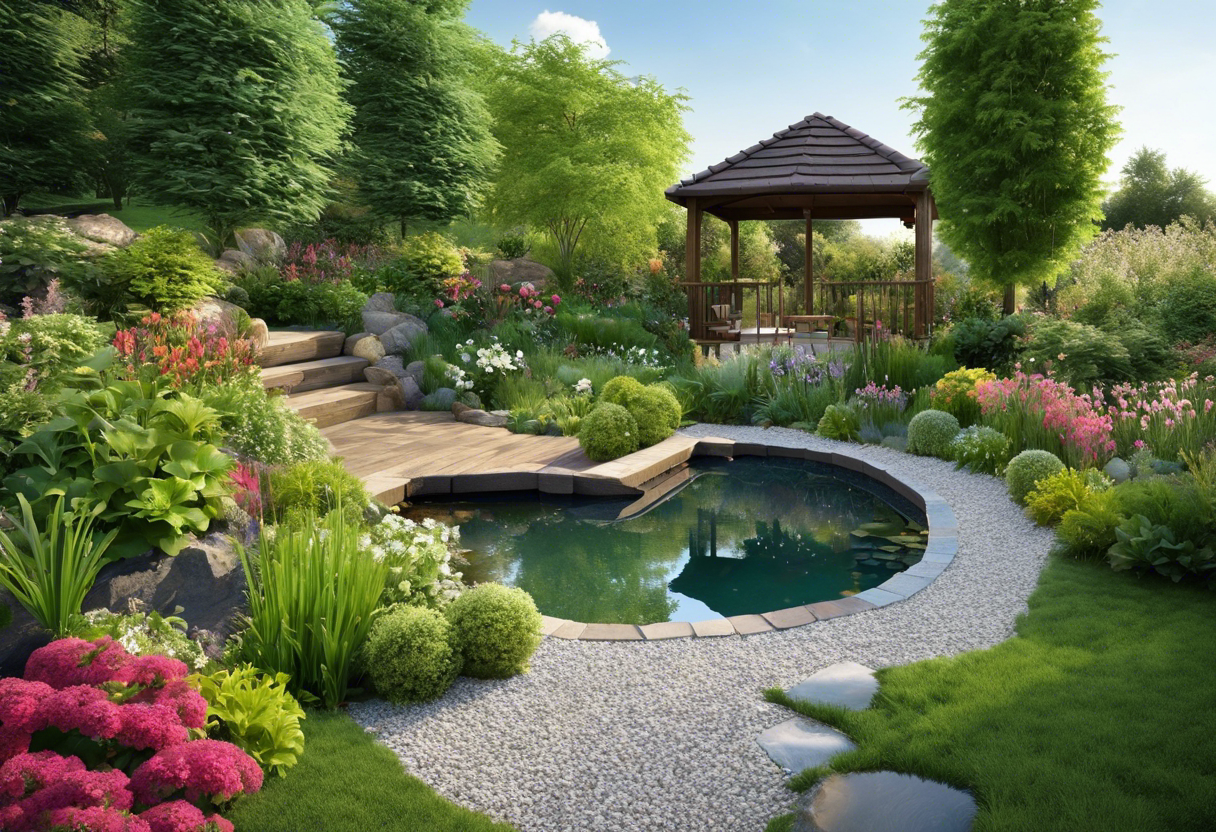
Final Touches and Future Planning

Once you have completed all the necessary maintenance tasks for your fence and yard, it's time to add the final touches and consider future planning to keep your outdoor space looking its best. Here are a few important steps to follow:
- Landscaping: Take some time to enhance the aesthetic appeal of your yard by adding some landscaping elements. Plant colorful flowers, shrubs, or trees that will add beauty and vibrancy to your outdoor space. Consider the size and growth patterns of the plants to ensure they won't interfere with your fence's stability or integrity.
- Mulching and Weed Control: Apply a layer of mulch around your plants and in your flower beds to help retain moisture and prevent weed growth. Take the necessary steps to control weeds, such as using weed killers, pulling them manually, or applying organic remedies.
- Lawn Care: Regularly mow your lawn to maintain its neat appearance. Keep it well-watered, fertilized, and free of pests. Consider aerating and dethatching if necessary to promote healthy grass growth.
- Outdoor Furniture: Clean and inspect your outdoor furniture to ensure it's in good condition. Repair or replace any damaged parts before using them. Apply a protective coating or store them properly during harsh weather conditions.
- Lighting: Install outdoor lighting fixtures to illuminate your yard, creating a warm and inviting ambiance. LED lights are an energy-efficient and long-lasting option that can be strategically placed along walkways, near your fence, or in focal points of your landscape.
- Future Planning: Consider your long-term goals and needs for your fence and yard. Are there any upgrades or enhancements you would like to make? Are you planning to install a new fence or expand your outdoor space? Start researching options, gathering quotes, and consulting professionals to help you with your future projects.
Remember to always prioritize safety when maintaining your fence and yard. Keep children and pets away from any ongoing maintenance activities and carefully follow the instructions and safety guidelines.
By following this essential spring checklist, you can ensure that your fence and yard remain in optimal condition throughout the year. Regular maintenance will not only enhance the appearance of your outdoor space but also extend the lifespan of your fence, providing you with a secure and beautiful yard for years to come.


